Make a Repository Private/Public
There are 2 methods to make a repository public/private.
- While creating a new repository.
- Modifying a pre-existing repository.
Let us look at the Method - 1
Creating a new repository.
Step 1 :
Login to your Github account and click on the '+' icon at the top right corner to create a new repository
Step 2 :
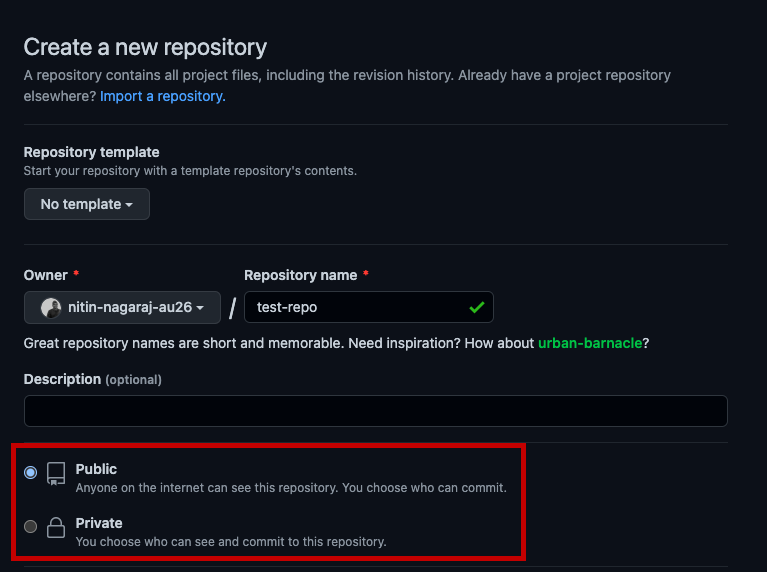
Provide any suitable name to the repository
Step 3 :
Just below you will find 2 options -> Public and Private and choose the approoriate option
Step 4 :
Scroll down and click on "Create Repository"
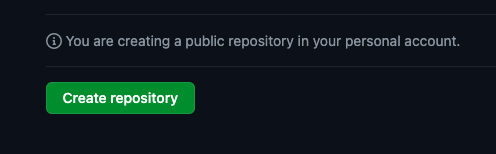
Hurray, you just created a new repository 🎉
(Based on the option you chose, your repository will be either Private or Public. )
If you want to change the repository visibility setting again, follow the steps below
Let us look at the Method - 2
Modifying a pre-existing repository.
Step 1 :
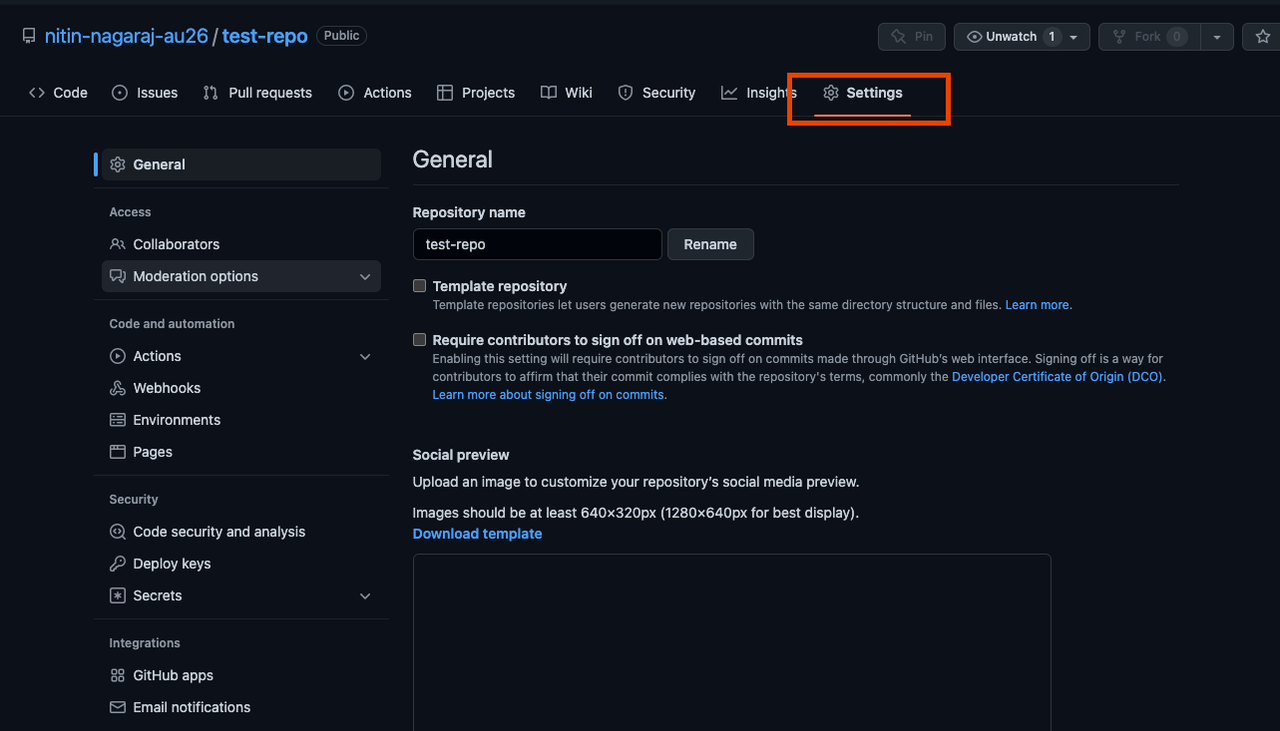
Open the repository that you want to modify and click on the "Settings" option
Step 2 :
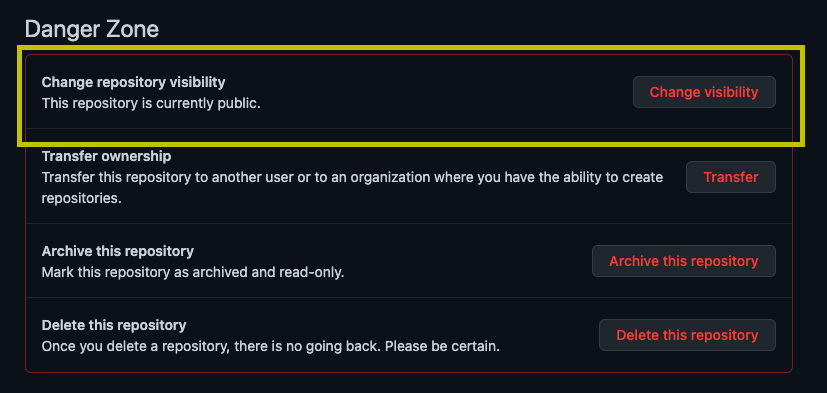
Scroll down to the botton until you find the "Danger Zone" menu and click on the "Change repository visibility" option.
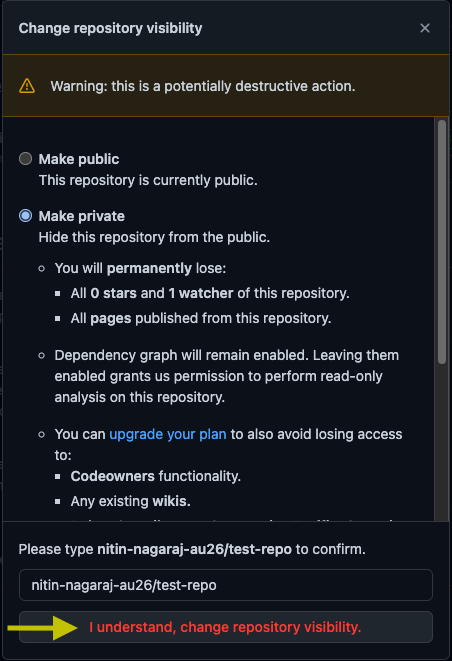
Step 3 :
Choose the option to modify the repository from Public to Private or vice versa, and enter your "GitHub username/repository name" to confirm and click on the I understand, change repository visibility option
Step 4 :
Enter your Github password to confirm the changes.